Once you’ve built a dashboard, you can then customize it in a number of different ways, which we will guide you through in this article. Many of these are covered in the search section of this guide, but there are some you can do within the dashboard itself.
The ways to do this are by time, and by metric type.
By time
Your searches will default to a time-range. You can update this by selecting the Time on one of the widgets.
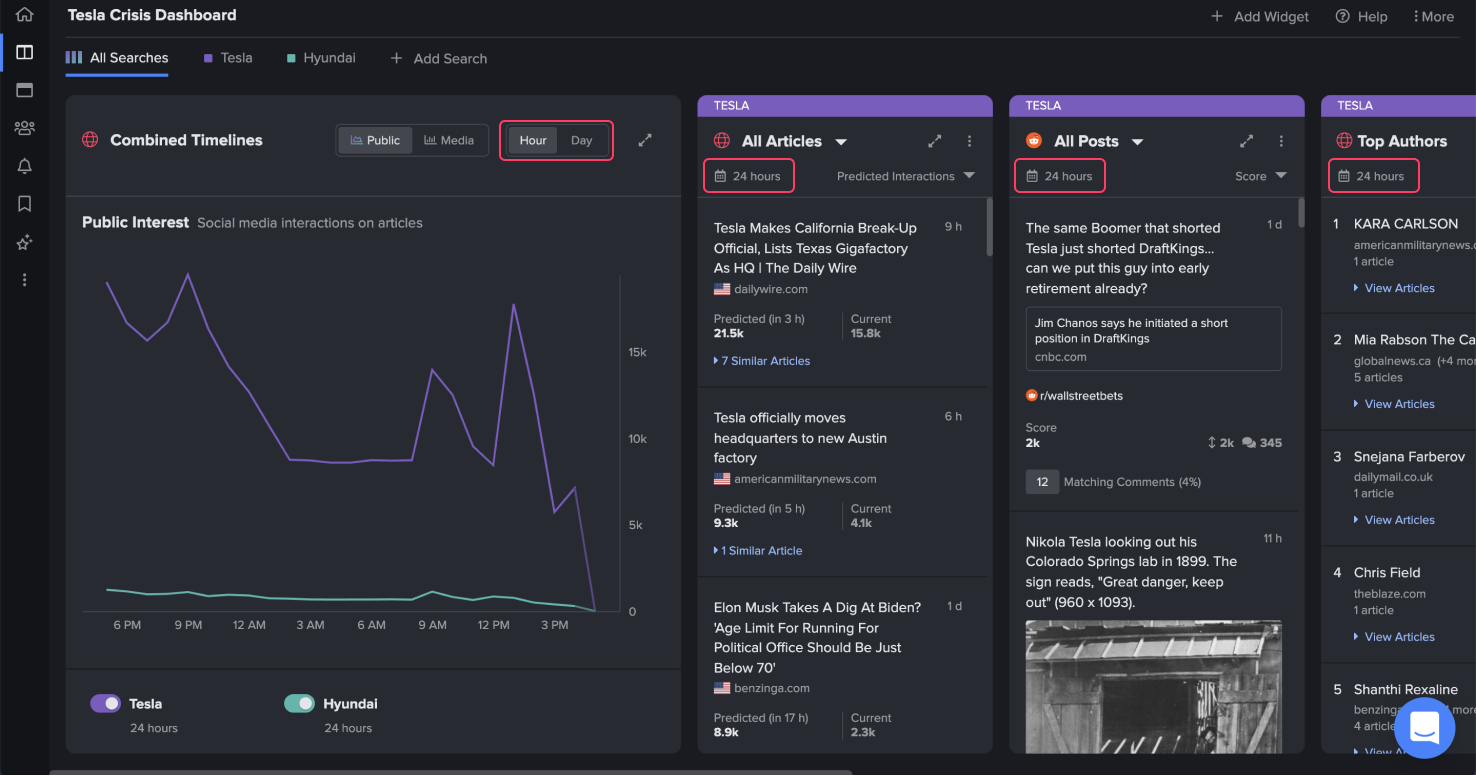
When you click this you’ll be given the option to change the search from as little as an hour up to 90 days.
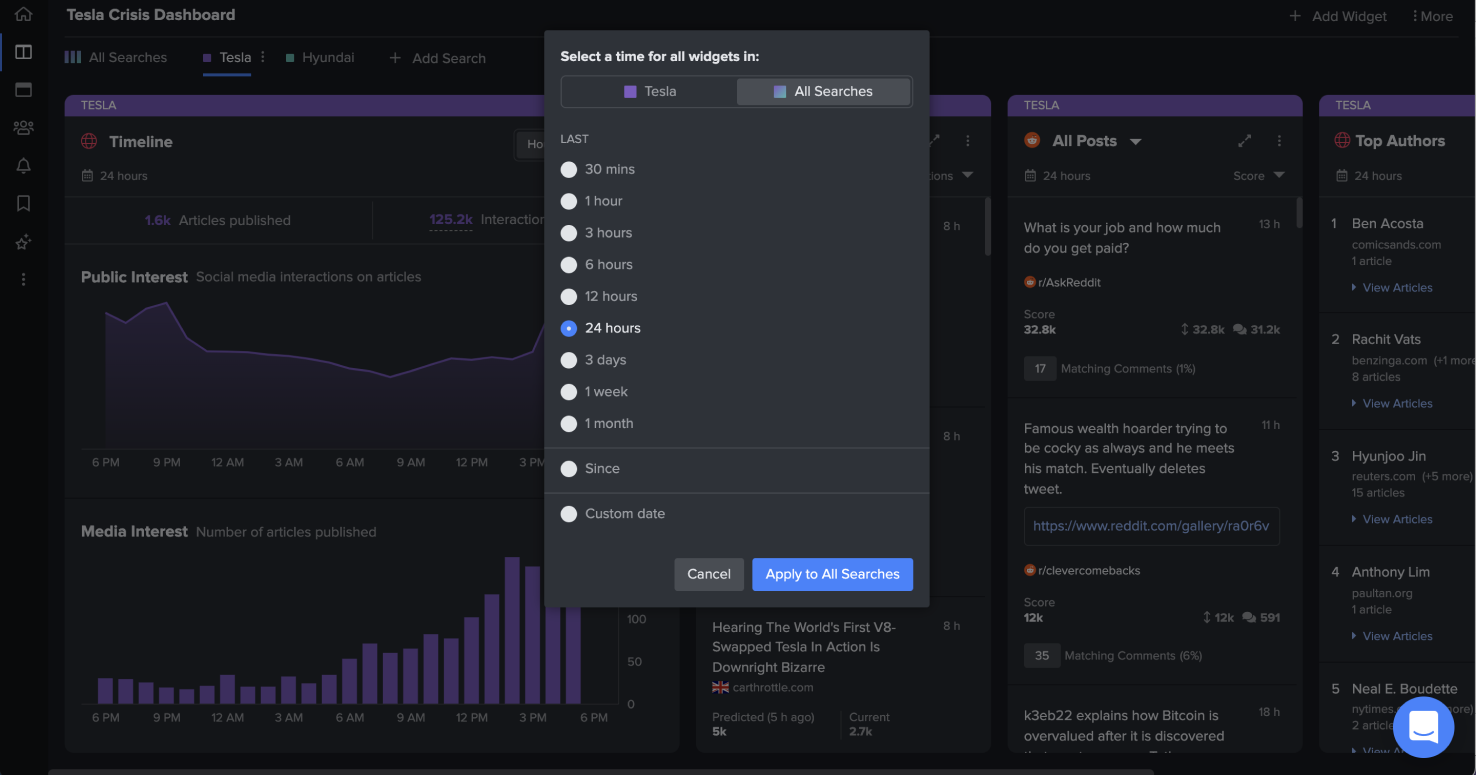
Preset-Options:
You can choose one of the preset options to view posts from the last 30 Minutes to the last 1 Month. This is ideal for day-to-day monitoring of your brand or a topic.
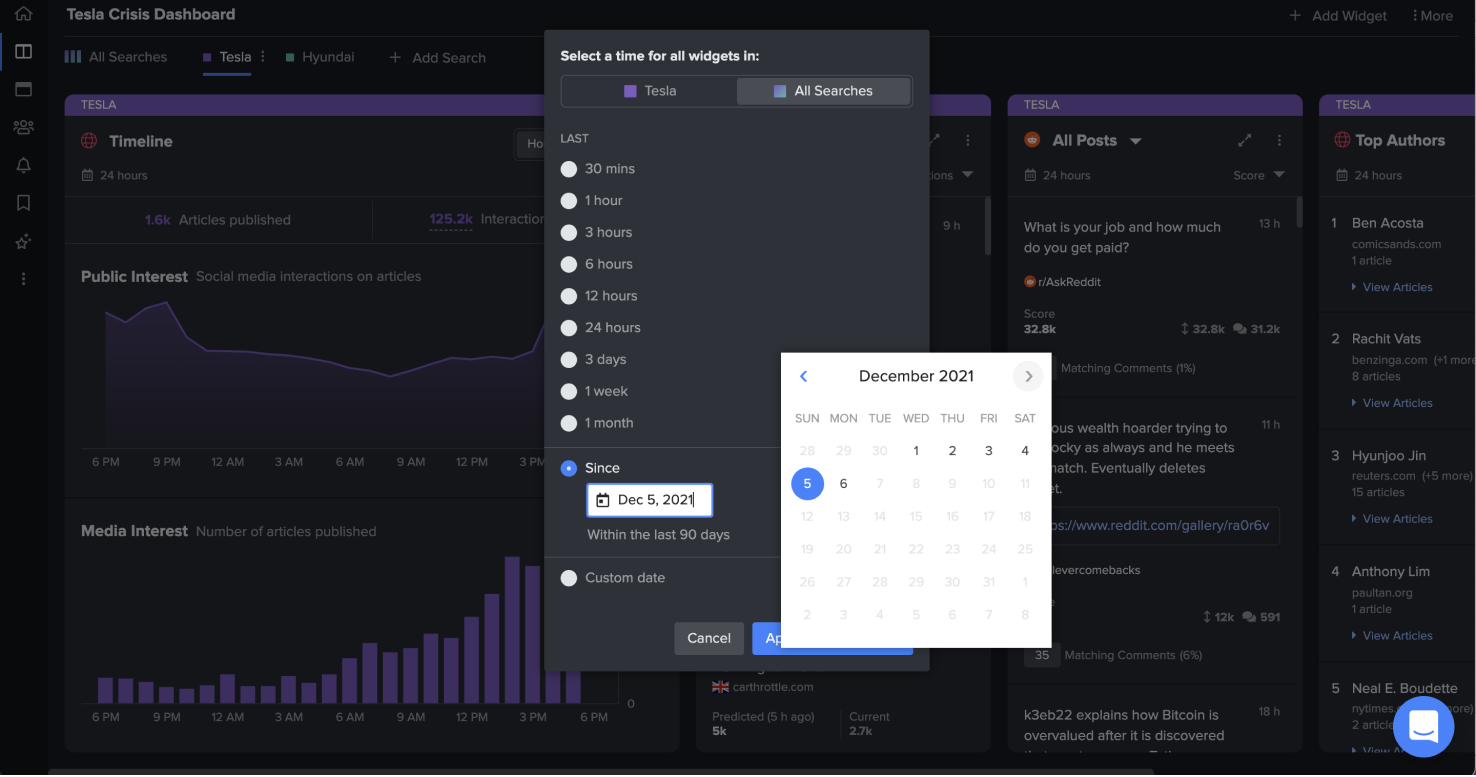
Since Ranges
You can select a ‘since’ date, going back as far as 90 days. This is ideal for monitoring a developing crisis or event.
Custom Date
Or you can select any 90-day time range going back to Jan 2018. This is ideal for researching historic crises or events.
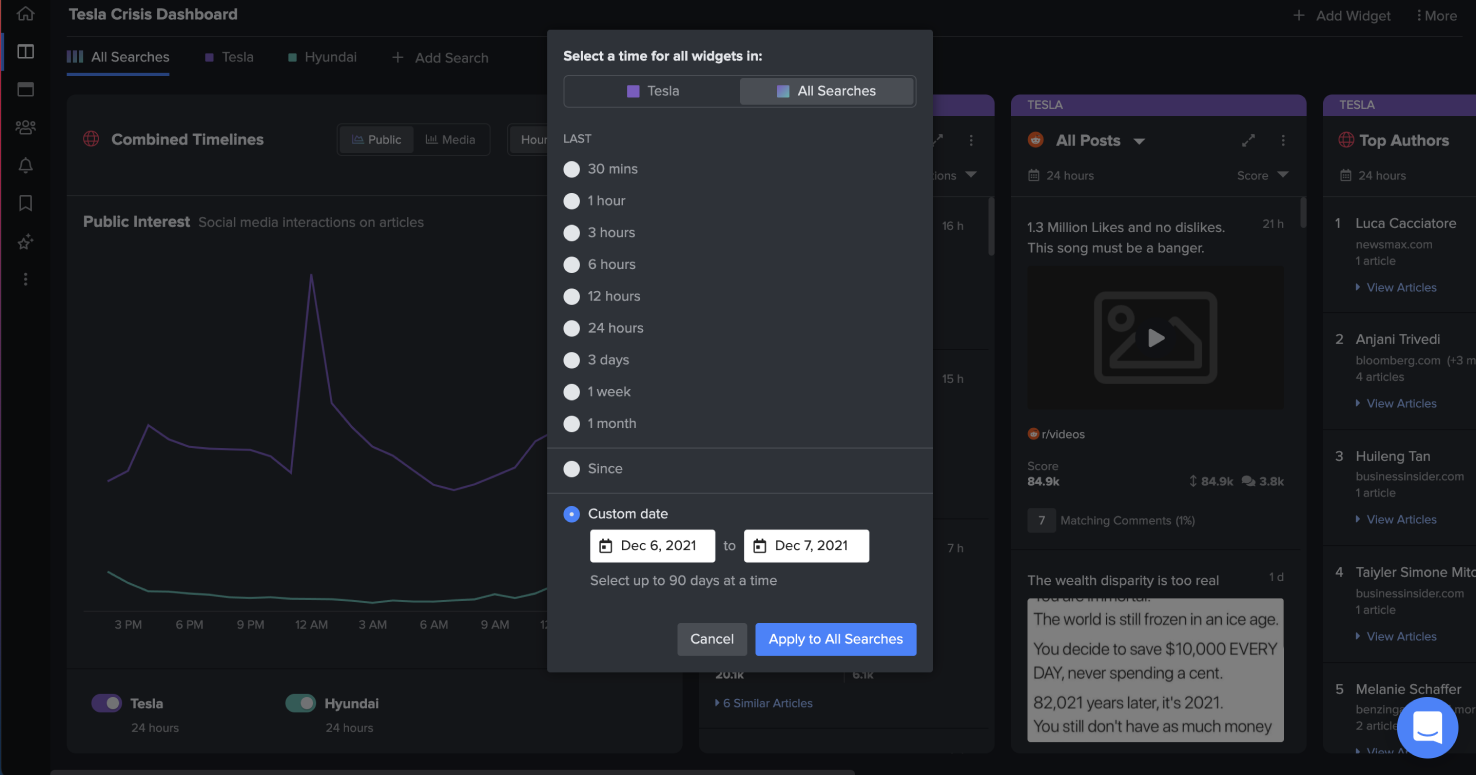
Once you’ve chosen the desired timeframe, you can choose whether to apply it to the search you are currently focused on, or all the searches in the dashboard.
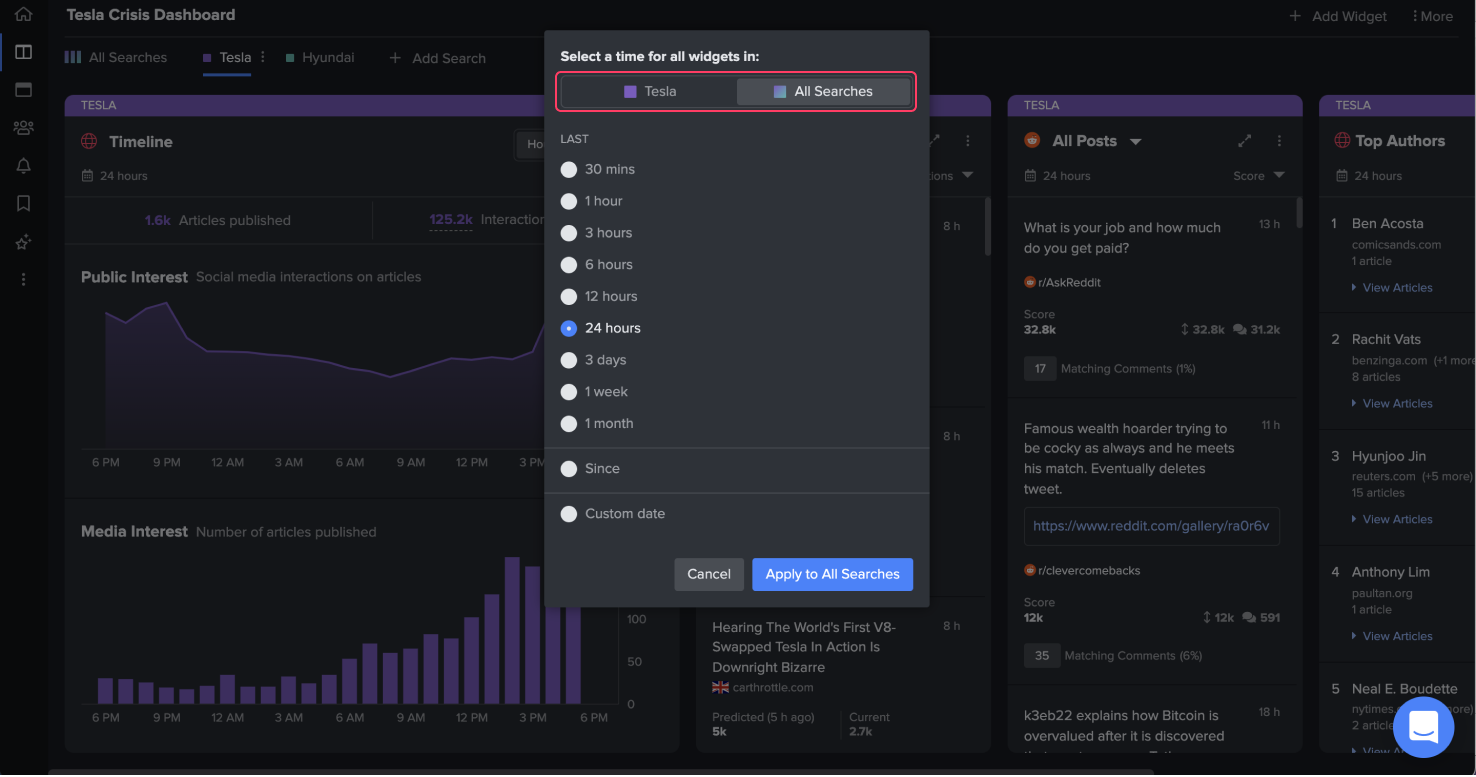
Once you’ve made your choice, simply click ‘Apply’ to save the changes.
By Metric type
You can also sort individual widgets by metric type by clicking here:
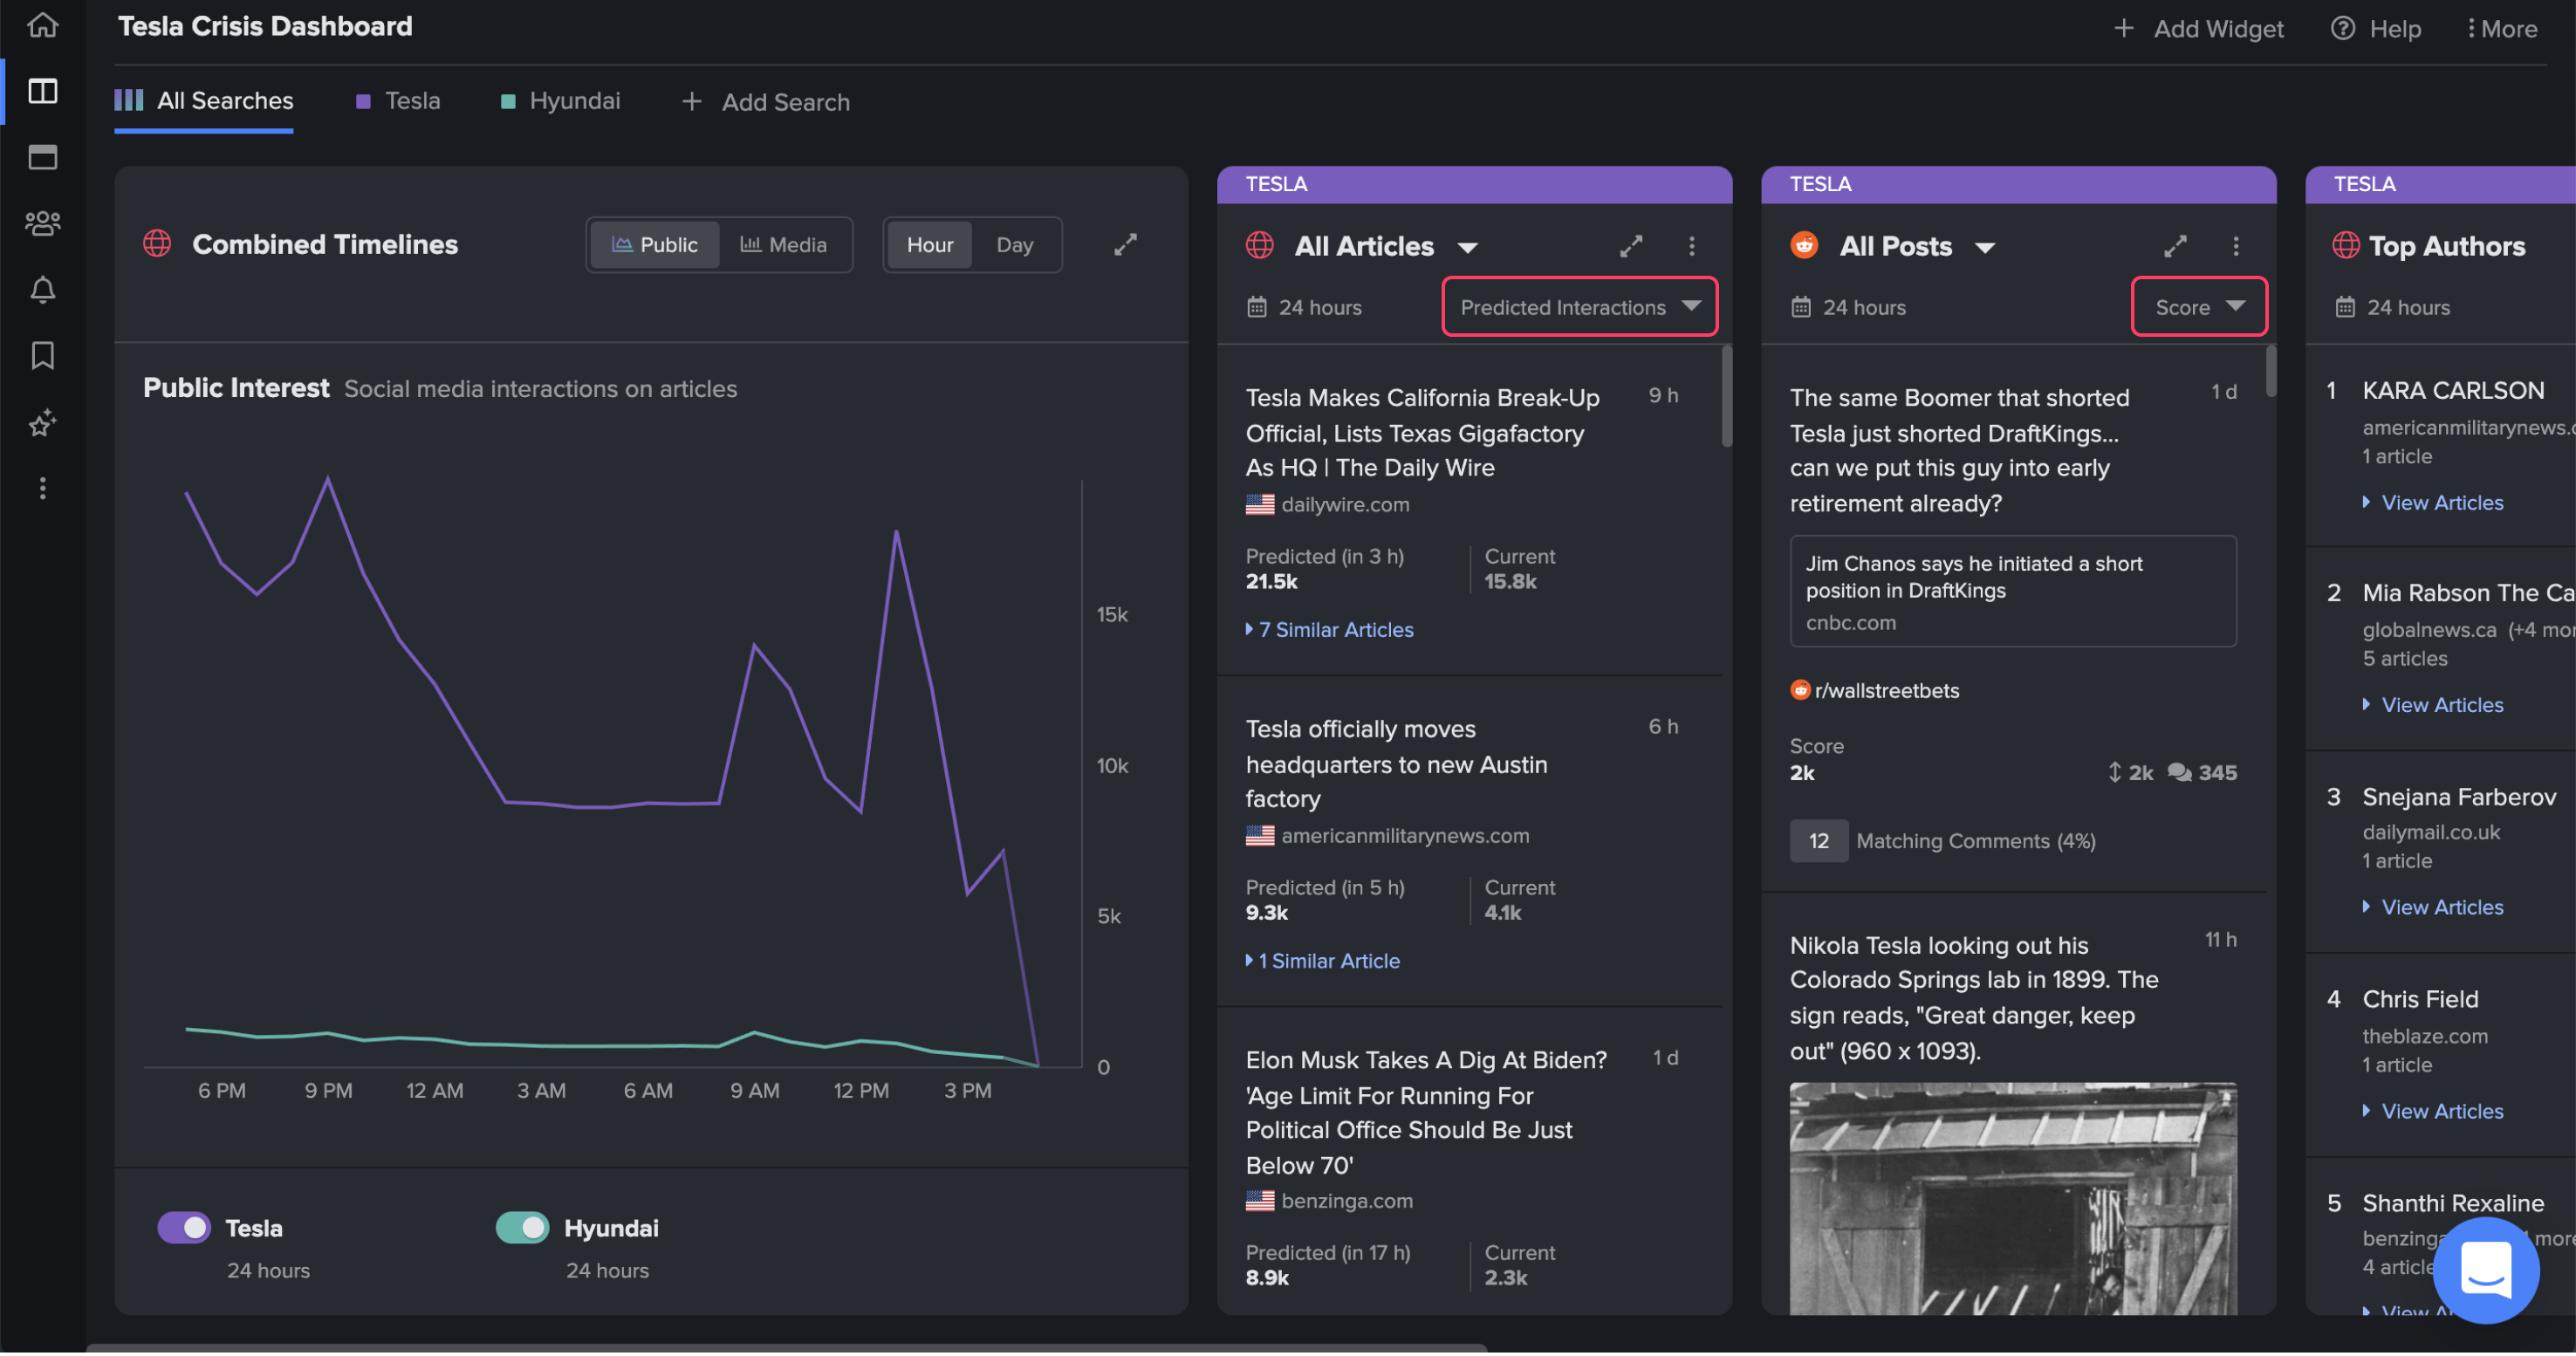
Each type of widget will have different options here, which we’ll go over in our widgets section.
If you’d like to know more about what the individual metrics mean, check out our metrics section here.
Now that you know how to build a dashboard, let’s look specifically at the widgets of which they consist.
Comments
Please sign in to leave a comment.