Logging in
To log in to NewsWhip Spike, go to https://spike.newswhip.com/ and enter your email address and password.
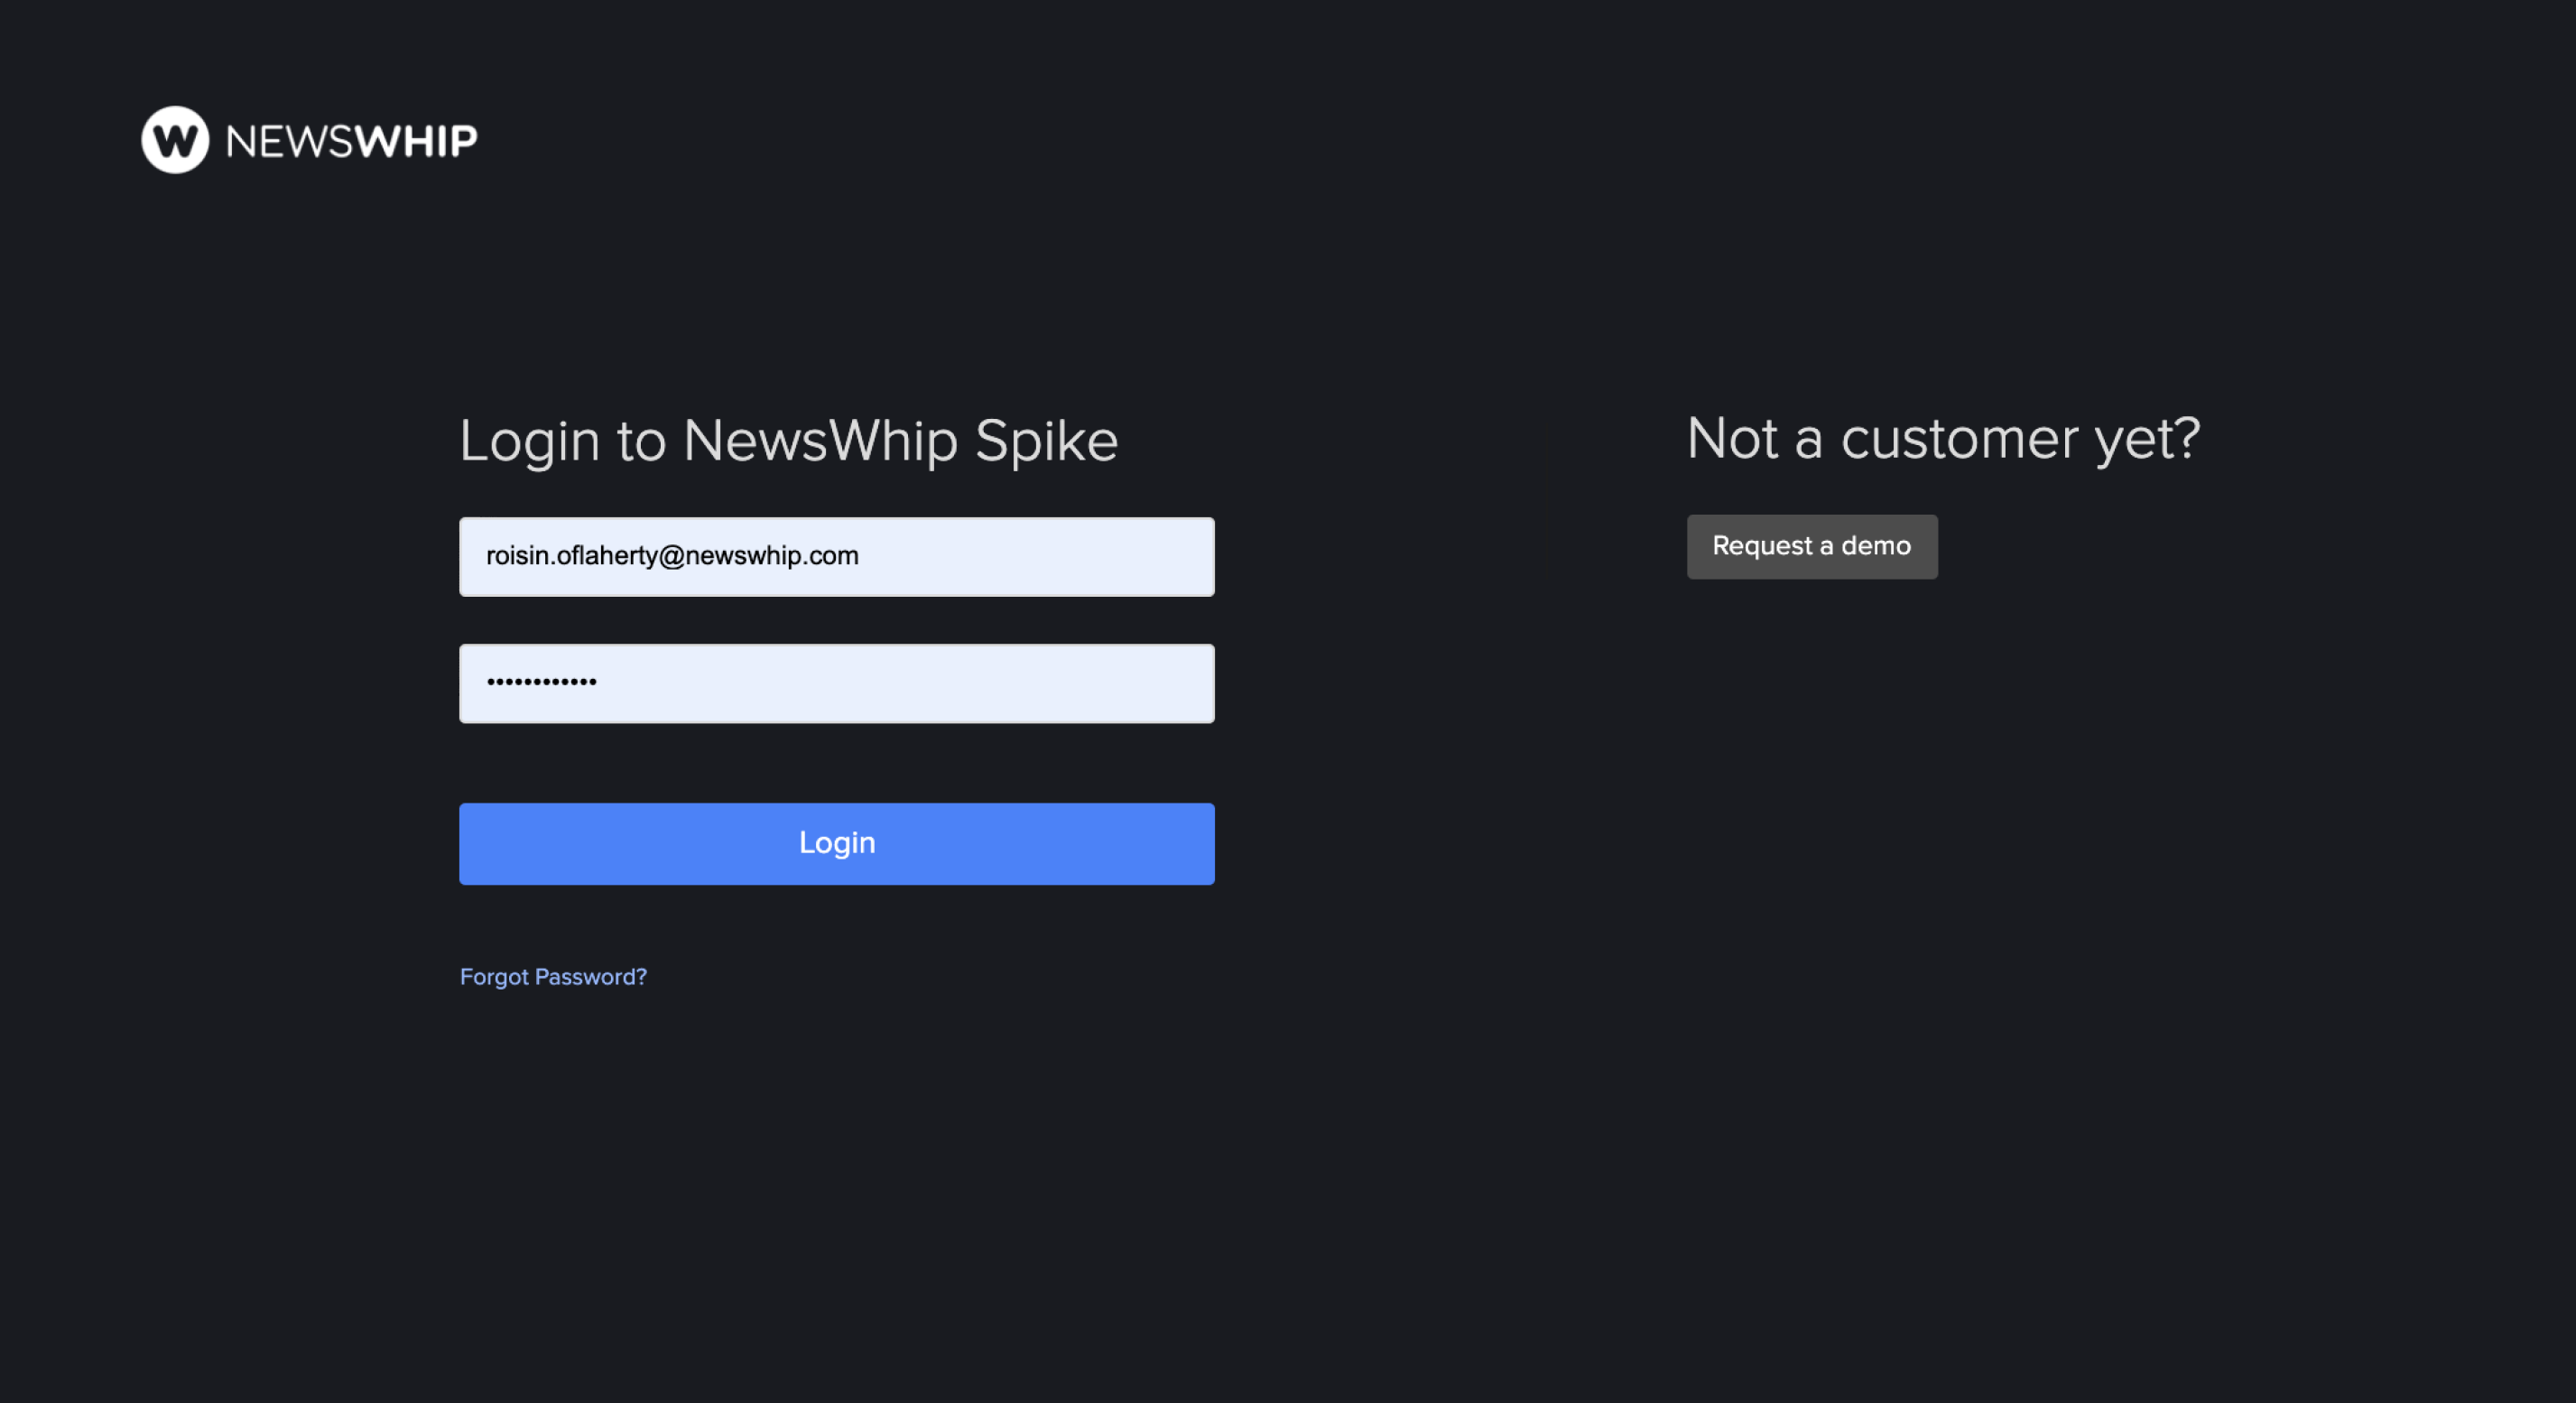
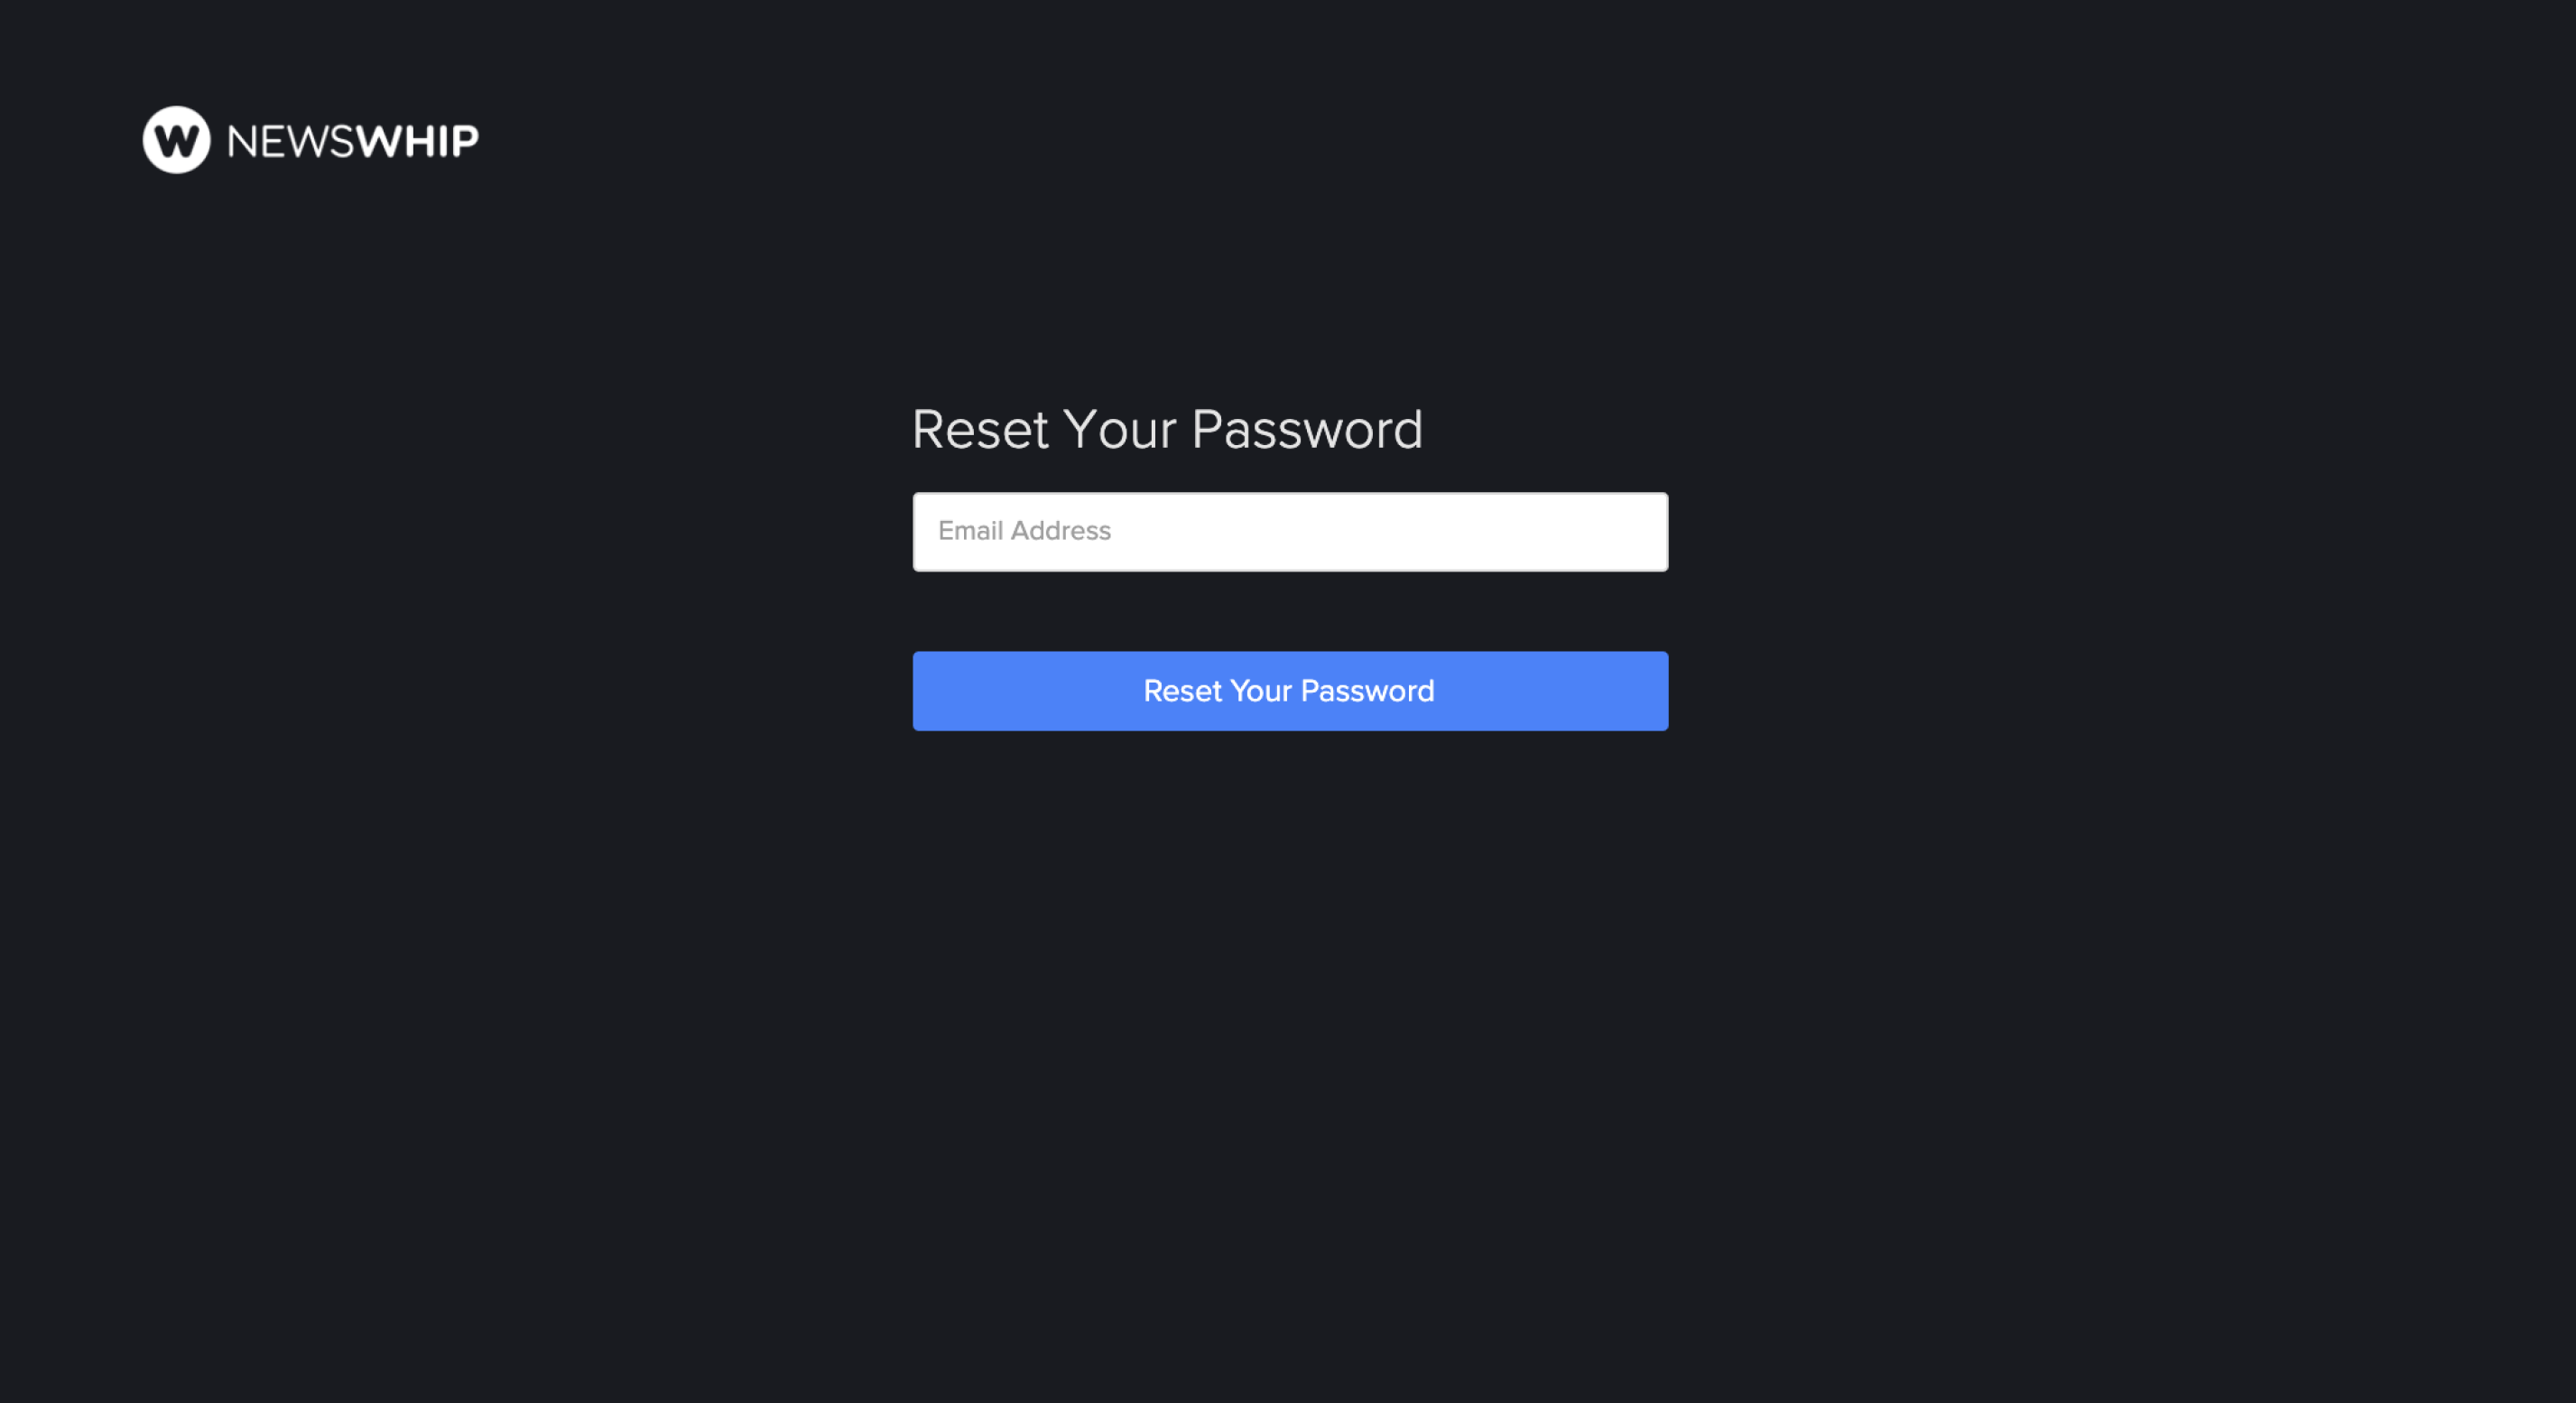
If you have forgotten your password, hit the forgot password button, and enter the email address associated with your account. A link will be sent to that email to reset your password.
Building your first dashboard
Dashboards are the main workspace in NewsWhip Spike. You can use them to monitor real-time Feeds, Leaderboard and Timeline widgets for one or more searches simultaneously.
If you’d like a fuller explanation of what Dashboards are and how they work, we explain them in more detail in our section on Dashboards and Widgets, which you can view here.
For this article, we will focus on the process of building your first one.
Select a dashboard template
When building a dashboard, you can start from scratch or select one of our pre-made templates. In this guide, we’ll explain how to create a dashboard using the Monitoring template. You can read more about the other options here.

This will open up a template, where you can see a collection of predetermined widgets, and a search bar on the left.
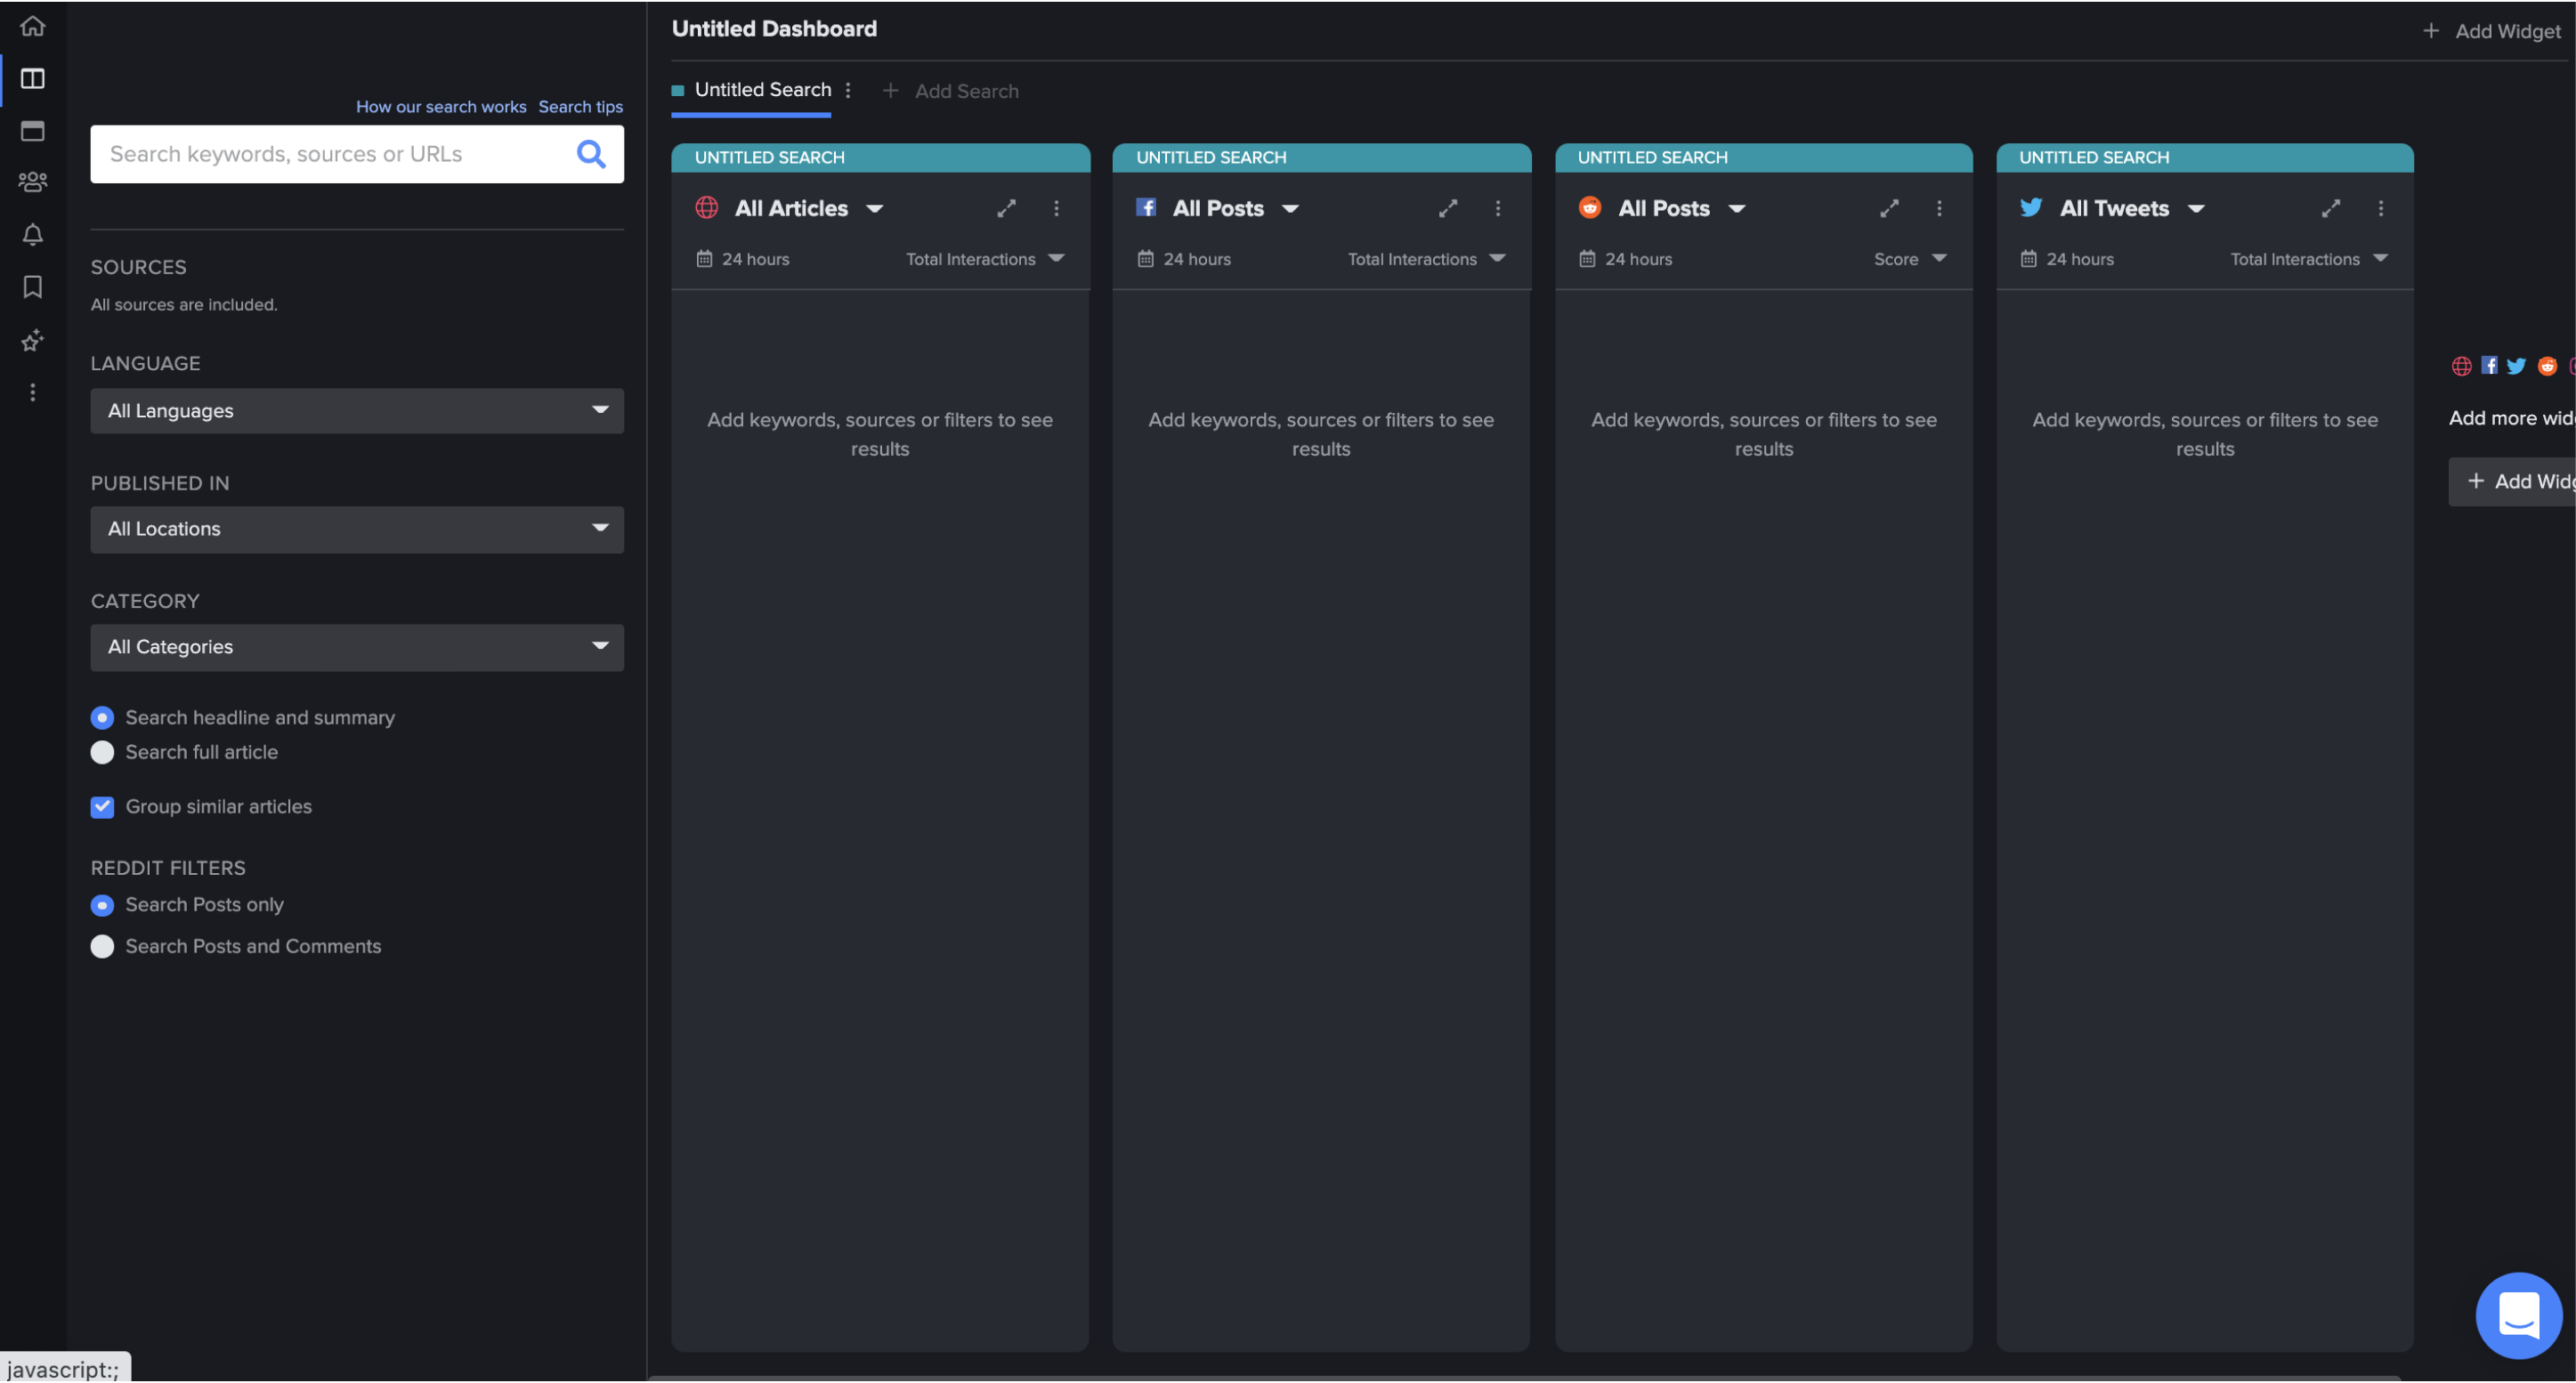
Build your search
You can then populate this search by searching by keyword. There are a number of options for building a search, which you can read about in our section on searching, but here we’ll focus on simple keyword searches. Enter your keyword of choice into the white search bar on the left, we’ll use Tesla as an example.
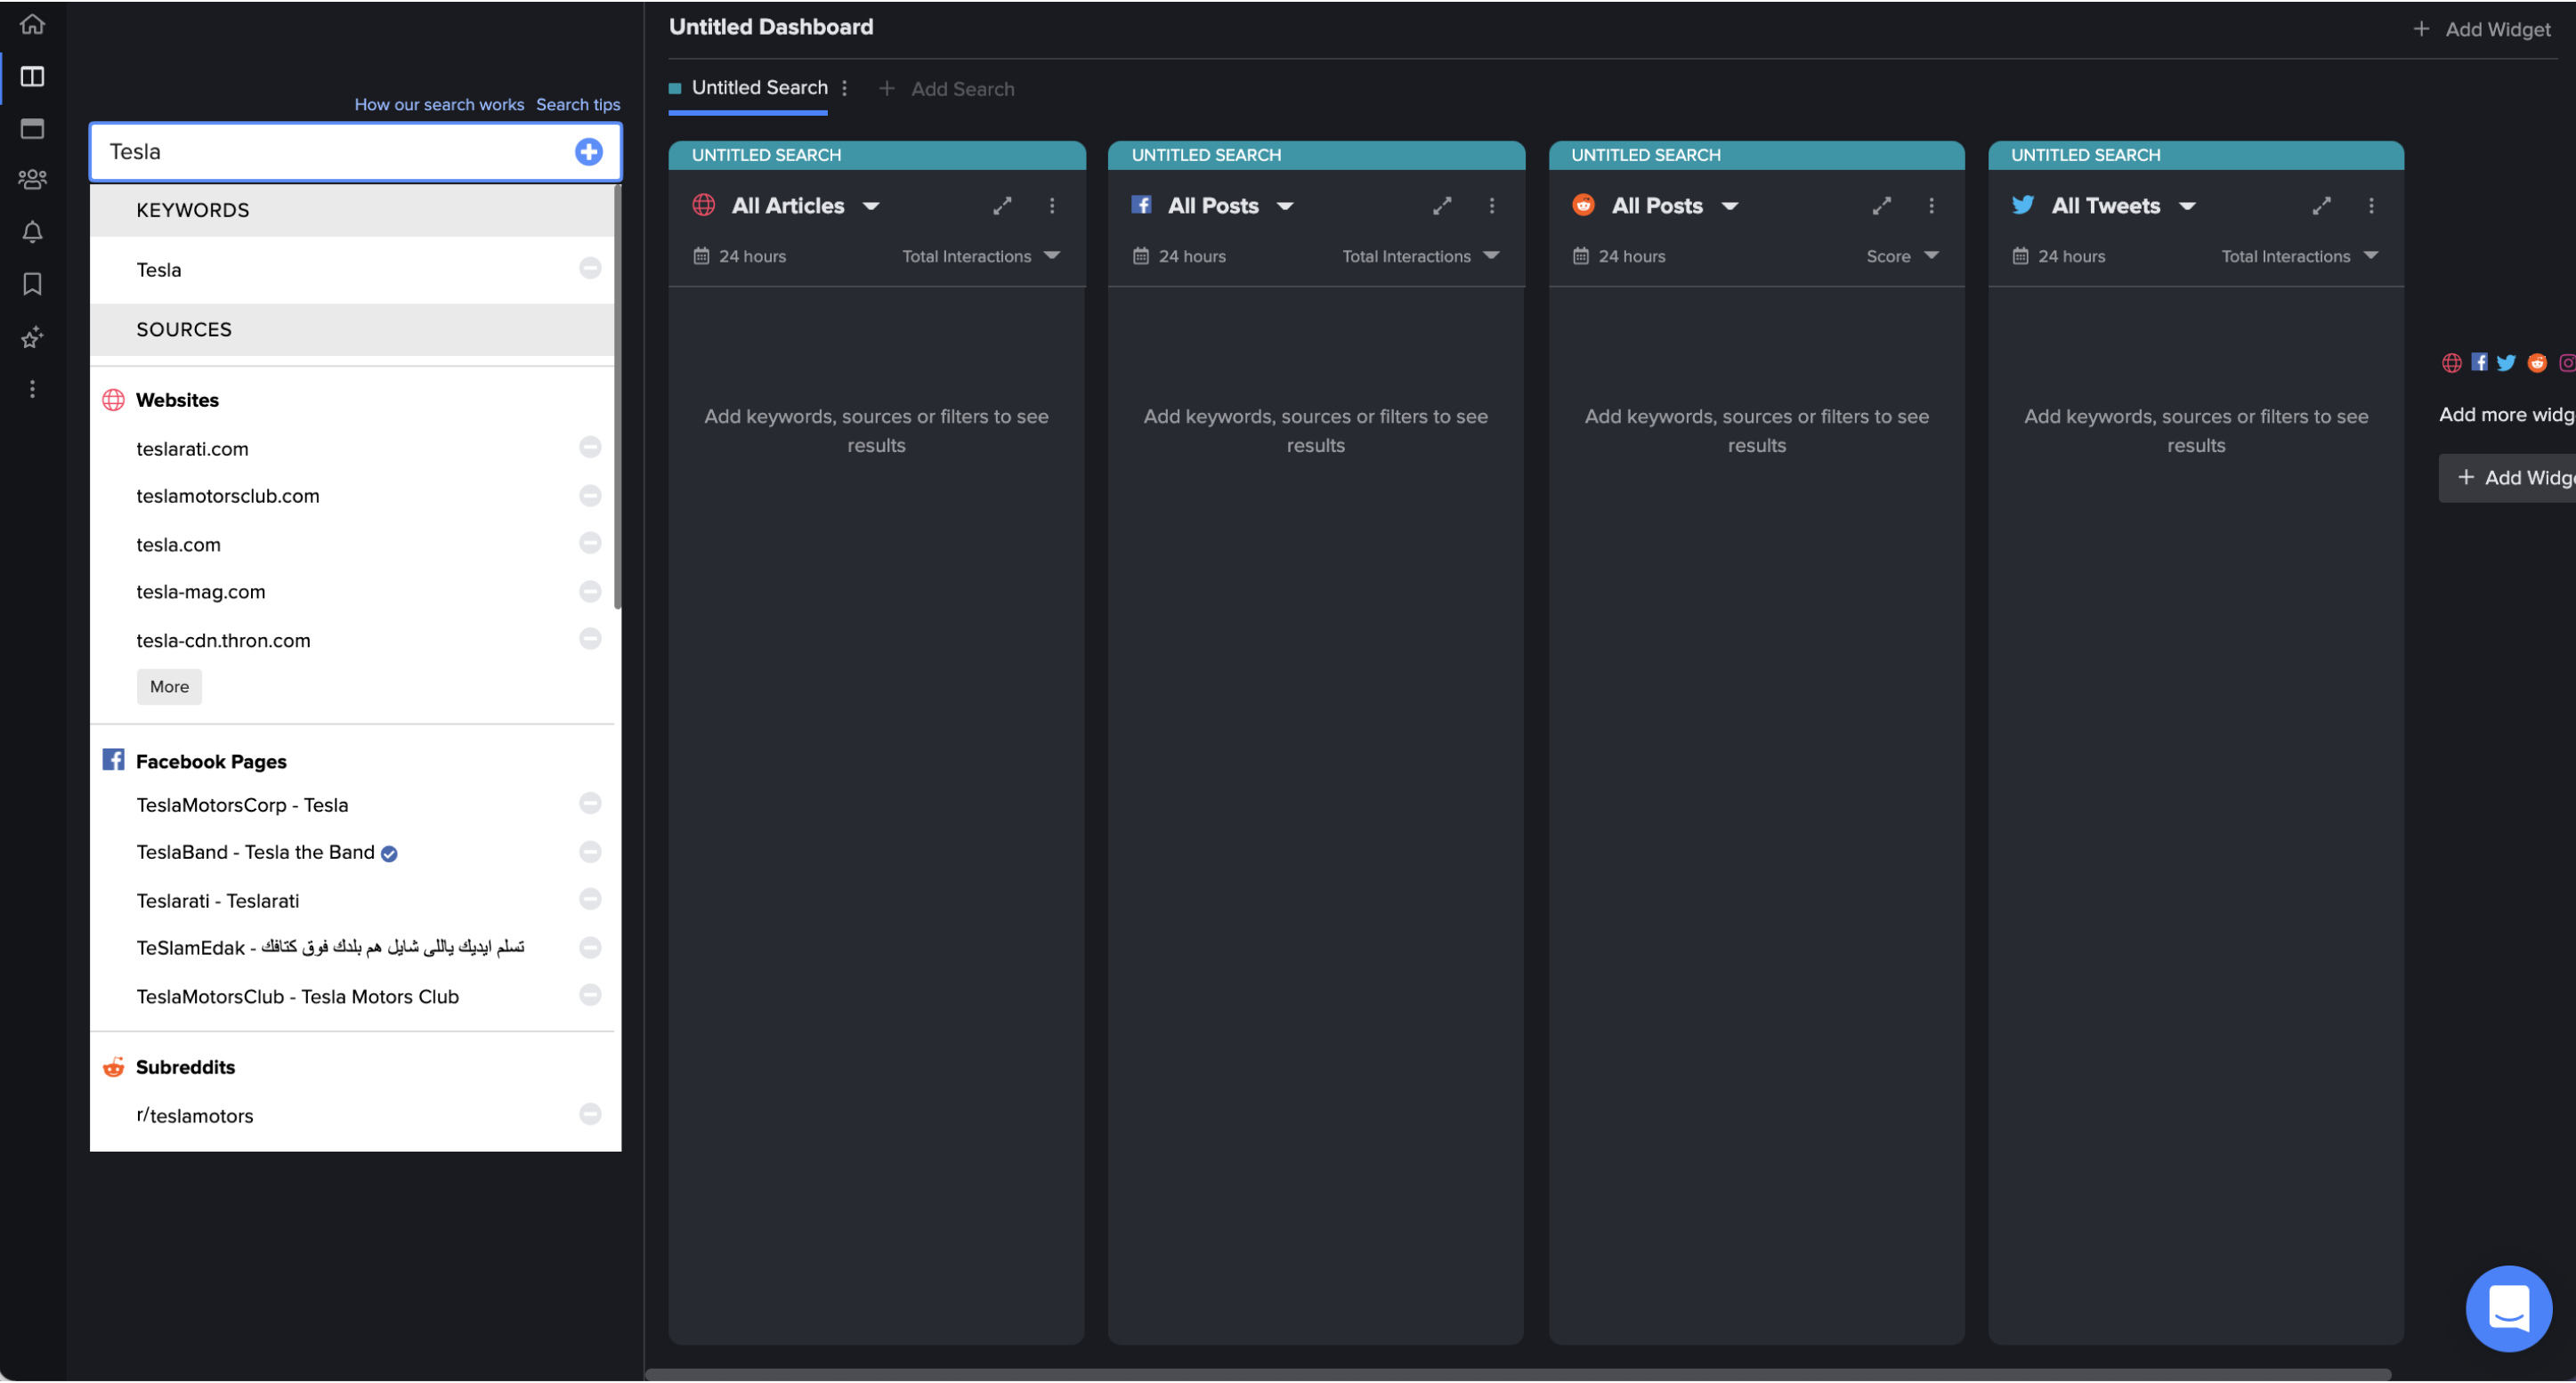
Hitting Enter once you have your keyword of choice will populate the widgets with content containing that search term, and you can refine the search using additional language and location filters in the left-hand bar, and change the time range and metrics in the widgets themselves. Again, more on that in our dashboards section.
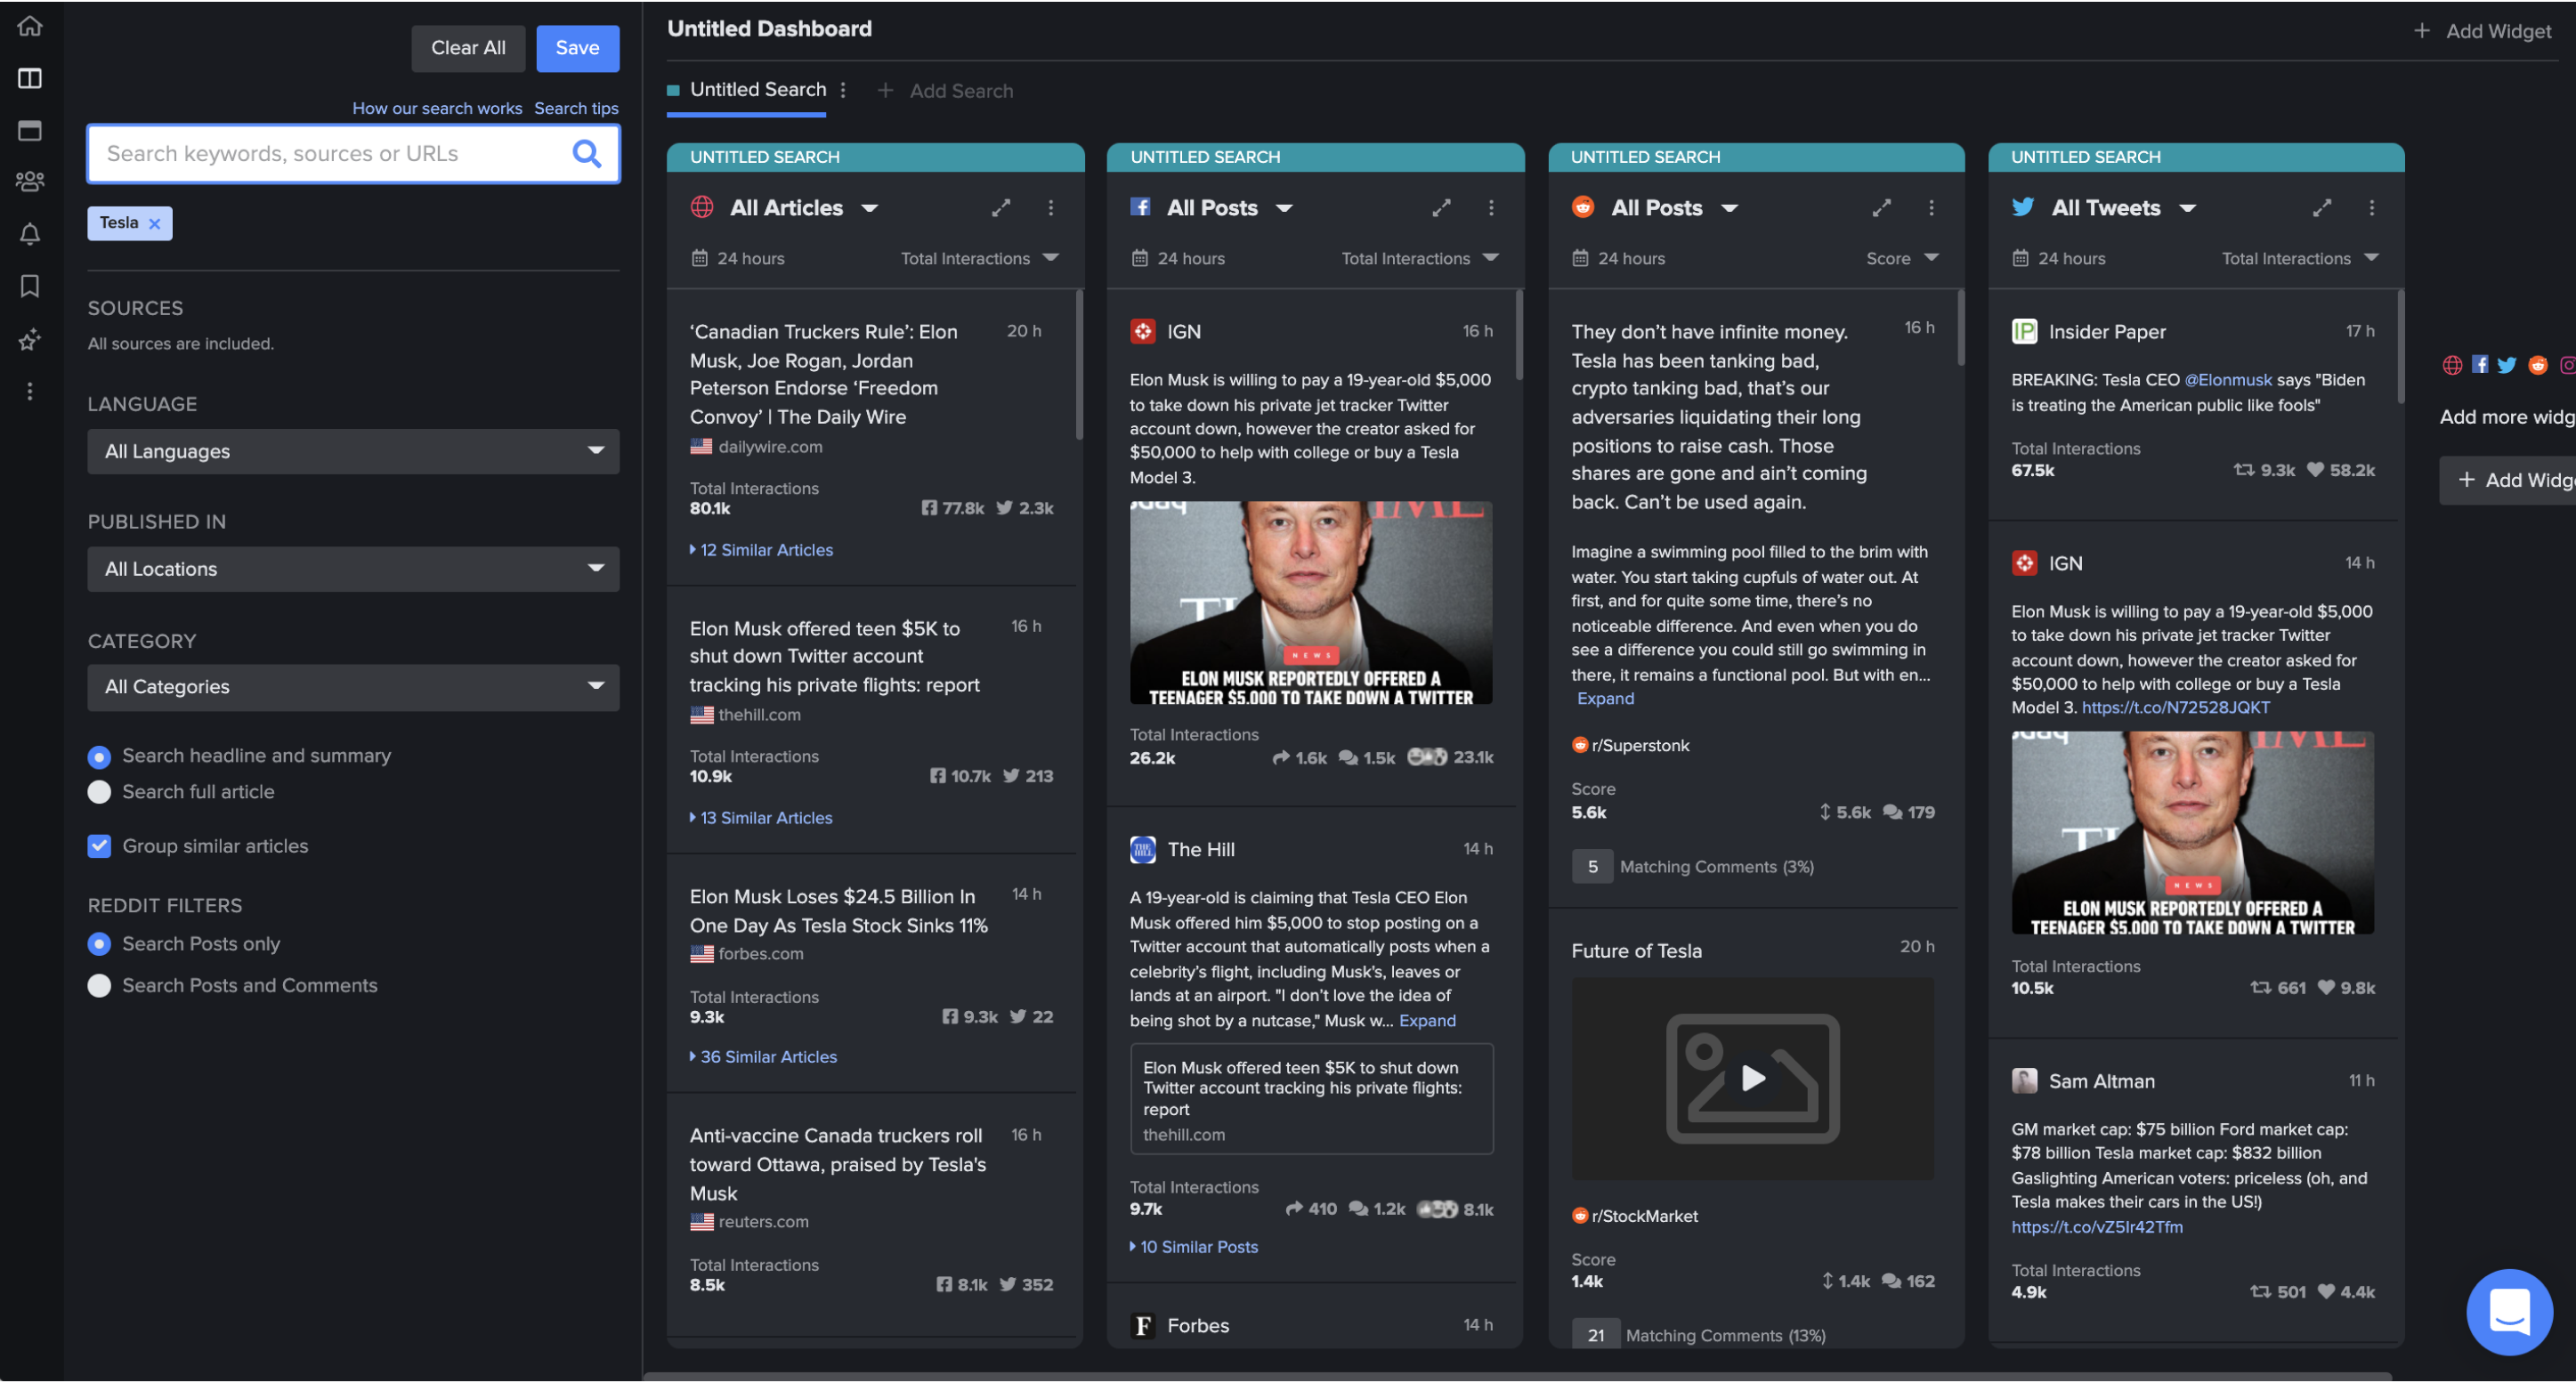
Step 3. Update your settings.
You’re now seeing articles and posts that mention your search criteria. You can customize the Time-Range of the search and the Metric each widget is sorted by.
You can also add and remove widgets to the dashboards. You can read more about that here.
Creating your first alert
Now that you’ve got your first dashboard, showing the top articles and posts for your keywords, it’s time to create your first alert.
It’s important to know what’s happening in your searches even when you’re not actively logged in, and for this we have a suite of alerts. Our full section on alerts is here, so in this article we will guide you through setting up your first one.
There are two types of alerts, scheduled and real-time. Here we’ll show you how to create a scheduled alert. For real-time alerts, see our section here.
To schedule an alert, go to the dashboard you just created, and decide for which network you want the alert. Here we’ll use web articles. Click the three dots in the top right-hand corner of the widget.

That will bring up a small menu, hover over alerts and click ‘New Alert’.
This will bring up a menu where you can customize the types of alerts you want to receive. For our purposes select ‘Scheduled Alert’.
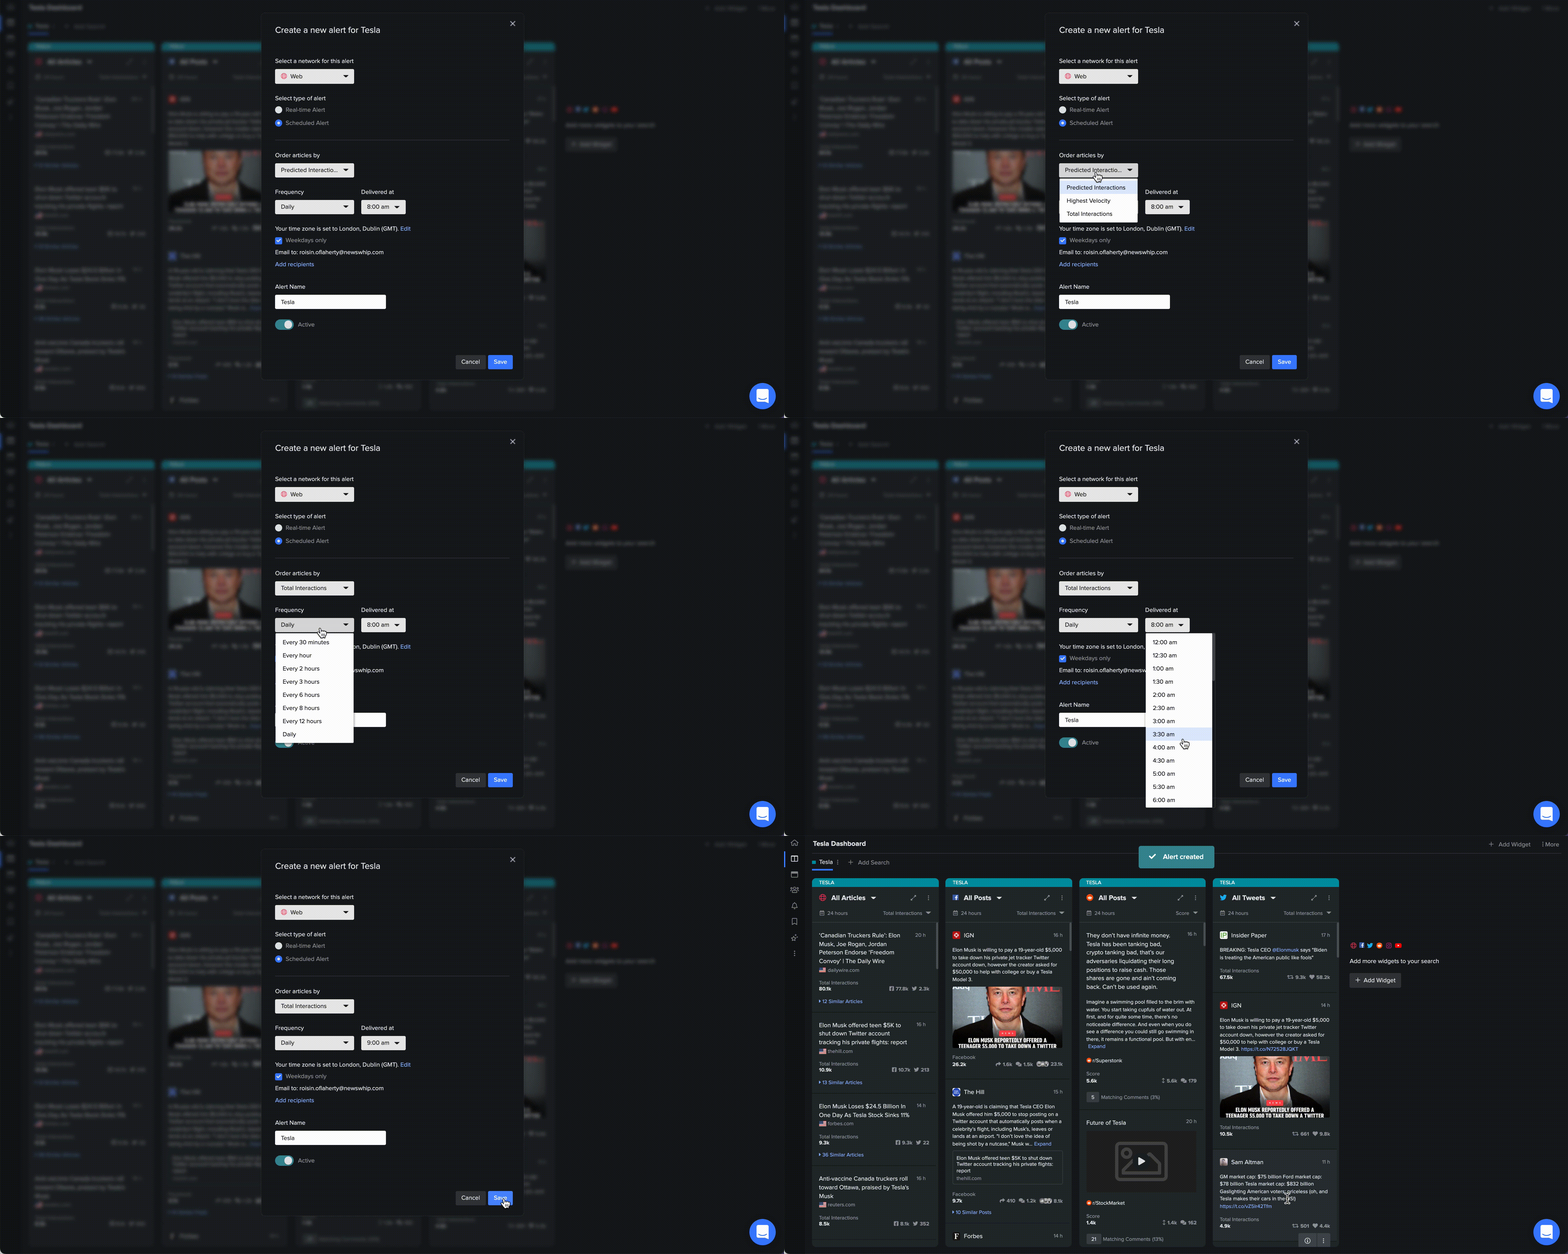
From here, you can select how you want the results to be ordered. You can choose from predicted interactions, highest velocity, and total interactions. You can read more about our metrics section here.
You can also select how frequently you would like to receive the alert, from as frequently as every half hour, up to just once daily. However you choose to receive them you can control when they hit your inbox by making sure you have the correct time zone selected, and setting a delivery time range based on a schedule that works for you.
To finish setting up your alert, simply name it and hit save. You can then repeat this process for any other types of alert you’d like to receive, or edit/pause the alerts you have by going to the Alerts Centre.
Congratulations, you’ve just set up your first dashboard and your first alert, and are well on your way to becoming a NewsWhip power user.
Book a training session
Once you have created a dashboard and at least one alert, you’re ready to start exploring the full power of NewsWhip Spike. To do so, you can either go back to the main page and start exploring our features in more detail, or book a training session with our dedicated onboarding team.
Comments
Please sign in to leave a comment.